In an earlier article, I mentioned getting the P&P Motorcycle Bodyworks lower kit for the NT700V (Deauville 700), and I promised to document the proceeds of mounting it. So… without further ado:
First, I’m going to ask you to watch this YouTube video. Everything I’m going to write adds to this, rather than replaces it!
Tools needed:
- Allen wrenches 3mm, 4mm and 5mm
- Open wrenches 10mm and 17mm
- Whatever you use to cut out a half circle in fibreglass — only if you have lights hanging off the wings or on the radiator cover. See the video!
Caveat
I got my set secondhand. It was already partially assembled, but I have documented as much as I could, taking things apart in the process when needed.
Get it on, but don’t tighten it yet!
The manual and the video tell you to get the main bracket and the side brackets on, but leave the bolts loose. Both the video and the manual fail to tell you why. We’ll get to that!
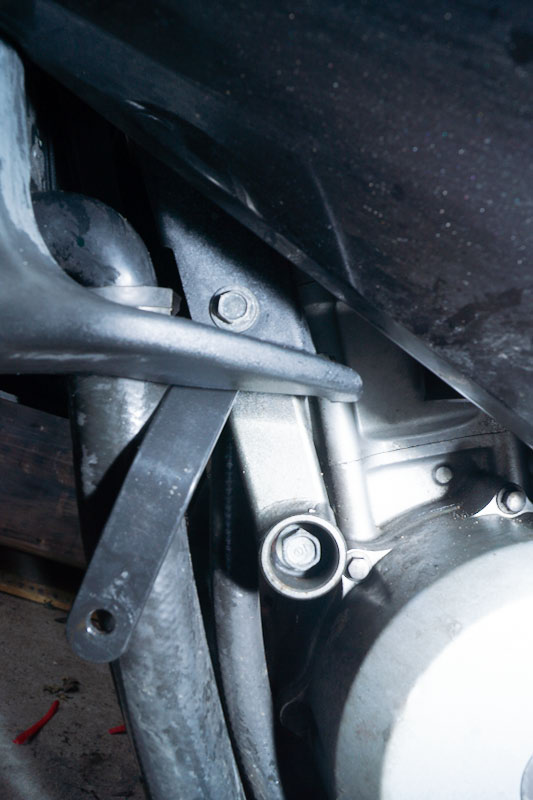
Pay attention to the orientation of the side brackets. The short straight end should go under the bolt of the radiator cover.
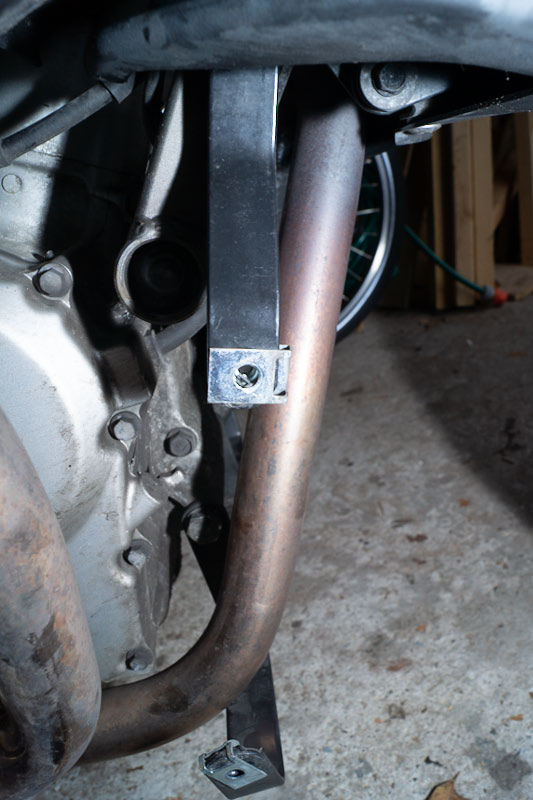
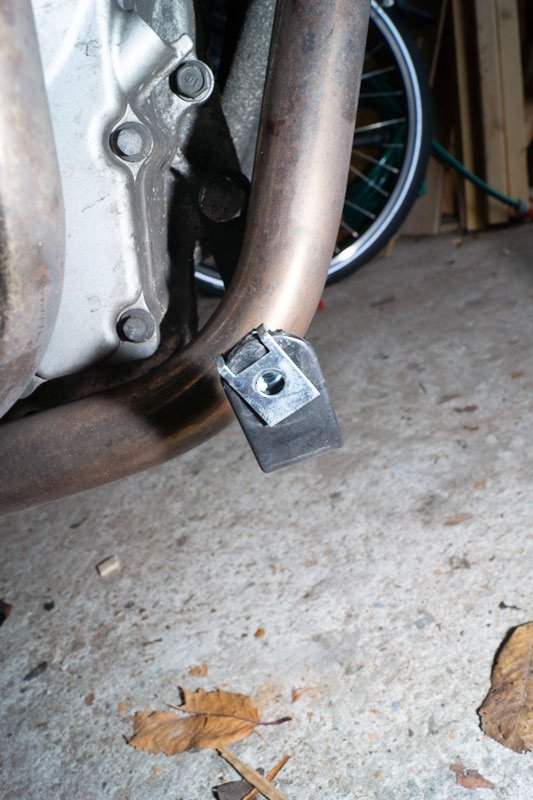
Slide threaded clips over end of brackets
That’s both the main bracket and the side brackets. The thread comes at the inside!
Top bolt on footrest plate
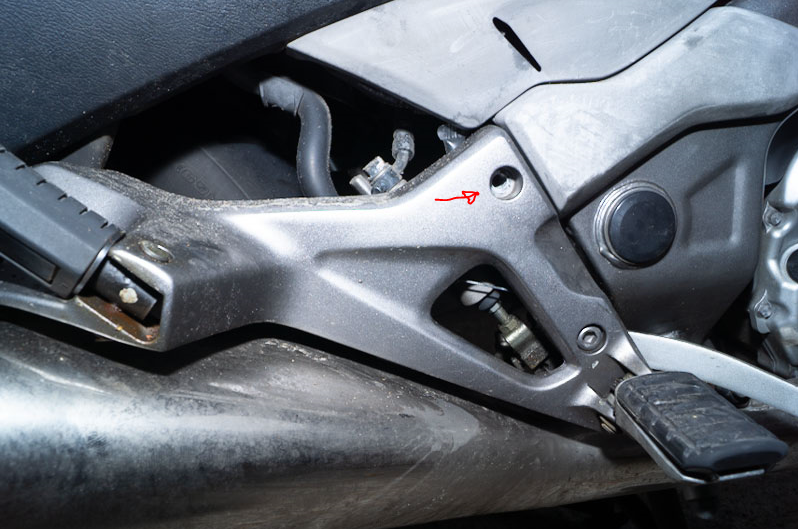
The supplied mounting material for the rearmost mounting points:
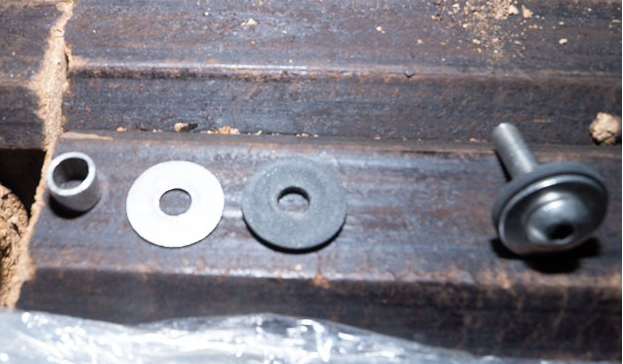
The longer of the two bolts and the longer spacer is supposed to be used for the right hand side panel.
Make sure you apply the rubber strips to dampen the vibrations!
When the two side panels are on, you’re going to join them at the bottom. The video shows this very well, but I felt like assembling IKEA furniture, especially when lying down on a cold garage floor. Mild expletives are allowed.
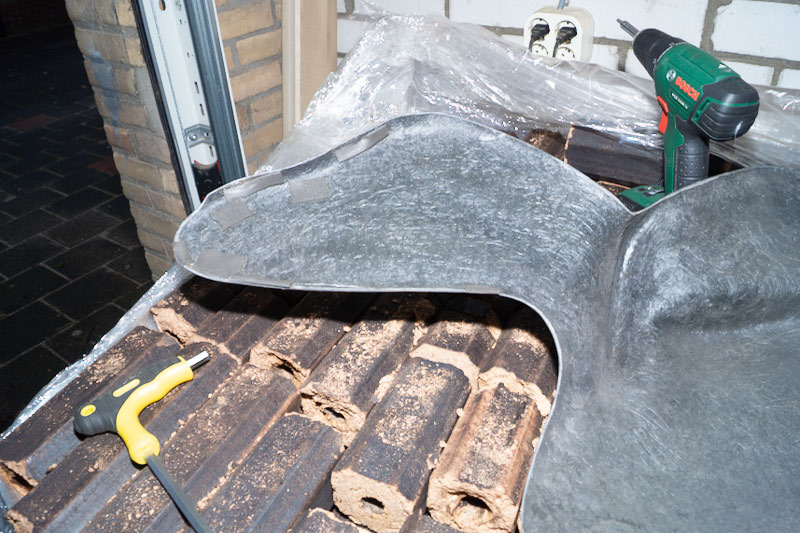
The last bit is to get the infill panel on. This is also pretty straightforward.
Let’s make sure everything is on straight!
The entire underbelly is on, but it may sit a bit… crooked. Make sure the bolts that hold the construction to the bike are hand-tightened — it should be just tight enough that you can wiggle it about a bit, but that, when you stop wiggling, it stays put in that position.
Now (I know… nobody told you this. Don’t ask me how I know this…) walk around it and make sure the whole shebang is on straight, both sides are flush, and that there are no untoward or unequal panel gaps. Adjust the brackets if necessary — the rear mounting points (in the footrest plate) are your pivoting points.
ONLY when that is done are you ready to tighten up everything. Check and double-check your work!
After riding it a bit, check again if all the bolts are still snug.
That’s it! Hope this helped!