I’ve been shooting black & white film since the seventies, always developing the films myself. In a narrow circle, I seemed to have a reputation of being able to do remarkable things with it – I knew my films and my developers well, and I was accused of having a neverending palette of monochrome tones*.
In 2008, I acquired a full-frame, 24,2 megapixel SLR, and started to gradually kiss my darkroom goodbye – I don’t think I’ve developed a film since early 2009. In the time to follow, I sold most of my darkroom equipment.
That was a mistake. Here’s why.
*) make a pun, any pun, with a 50 shades of grey reference and you will be obliterated, disowned and sent to orbit.
Somewhere this year, I dug up some of my old analog gear (my trusty old Minolta XD7 to be precise), and, out of sheer nostalgia, loaded a Tri-X film in it.
A couple months later, a photographer I know and admire decided to drop three more Minoltas in my lap, one of them being a Dynax 9Xi, which is a rather iconic professional machine. I decided to do it justice, and loaded it with an ISO200 Kodak colour film and shot away. I then sent it off to have it developed and scanned.
This confirmed two suspicions:
- To my tastes, colour film is no competition for digital photography, and
- Professional film development and scanning sucks. Yes, they have better scanners than I can afford… but it’s production work. They just load the film into the scanner, and scan the entire thing with default settings.
It’s also bloody expensive. One film, developed and scanned at 6 megapixel, will set you back a little over 20 euros including postage. And black&white is even more expensive than that.
I do, however, remember getting results on film that had a certain quality (a certain “je ne sais wtf”) which I’ve not seen in my digital pictures.
So I boldly decided to, um, take matters into my own hands. I got myself a starter set for film development. Foto Impex (in Germany) markets one, containing a Paterson tank with two reels, a 1 litre and a 25ml measuring cup, a thermometer, 100ml of Adonal developer (that’s essentially Rodinal), 100ml of Adofix Plus, and 100ml of Adoflo II (a wetting agent, to make the film dry without leaving stains). Plus a manual on how to use it and a throwaway 35mm film to practice loading film into the reel. The price of this kit is considerably (about 25%) lower than if you buy the individual products.
I think Foto Impex will happily ship throughout Europe. In The Netherlands, this starter set (as well as other ADOX products) is sold by FotoFilmFabriek in Dordrecht.
You’ll also want one or two funnels, a plastic bottle to store 600ml of fixer working solution, another measuring cup (of at least 600ml), a pair of scissors, and a couple film clips to easily hang the film to dry.
Oh, you’ll also need a place where it’s pitch-dark to actually load the film into the reel, and then the reel into the container. And with pitch-dark, I mean REALLY dark. After having taken 15 minutes to let your eyes get accustomed to the dark, you still shouldn’t see a trace of light.
Luckily, I have such a place – the loft above our garage has no windows, and only one entry. Making a hatch to close that hole and then throwing a sleeping bag over it to cover the last few light leaks worked like a charm.
Having bought the film clips (you could theoretically get away with clothes pins), and having nicked the other utensils from our kitchen, I was all set.
Well… almost.
I knew I wouldn’t be doing darkroom printing anymore – I haven’t got the space for that in the house we now live in, and I didn’t fancy breathing in acid stop bath and fixer fumes for hours on end anymore – so I went out and bought myself a negative scanner. I found myself a Plustek OpticFilm 8200i bundled with Silverfast. First scans I did with that, just to test, were some scans of the colour negatives which were already scanned by the professional scanning service… and my scans were definitely better. I got highlight details that had completely been burnt out on the scans from the service bureau. Again, this wasn’t because my scanner was better than theirs… this was because I can afford to treat each image separately.
You’ll also want a stack of negative holders that’ll go into a ring binder, and some cotton gloves to handle the negatives when they’ve dried, to protect them from fingerprints and scratching.
So, having gotten everything I need to get images, I went to work.
I knew Rodinal (anyone currently alive who has developed B&W films in a darkroom has used Rodinal somewhere in their career – it’s been around in some form since 1891 or thereabouts), so I knew I could expect a punchy, sharp result with a rather pronounced grain. The other advantage of Rodinal is that it’s a one-shot developer: dilute one part of the storage product with 25 or 50 parts water, use it once, then throw it out), and that its shelf life is legendary (expressed in decades rather than in years).
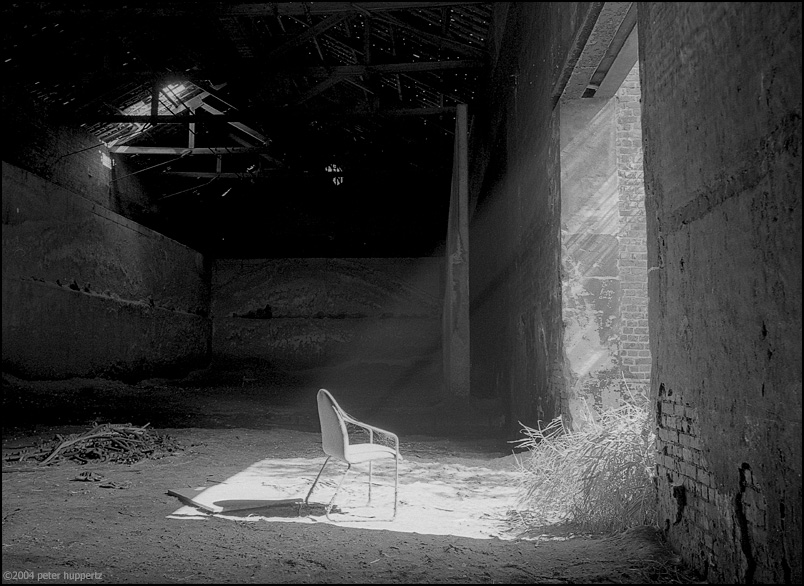
First film I developed in it was a Fuji Acros II, exposed at box speed (ISO100).

Yes, it was grainier than one would expect from Acros II. But it was a nice, punchy, defined grain (nothing like digital noise), and the tonality of Rodinal was just as I expected. Or better, in fact, than I remembered. What it proved to me is that there is something about the tonality of film that I haven’t been able to get from digital photos converted to grayscale. It may well be that the digital images have more resolution and are closer to the truth, but the film images are just… more pleasing to look at.
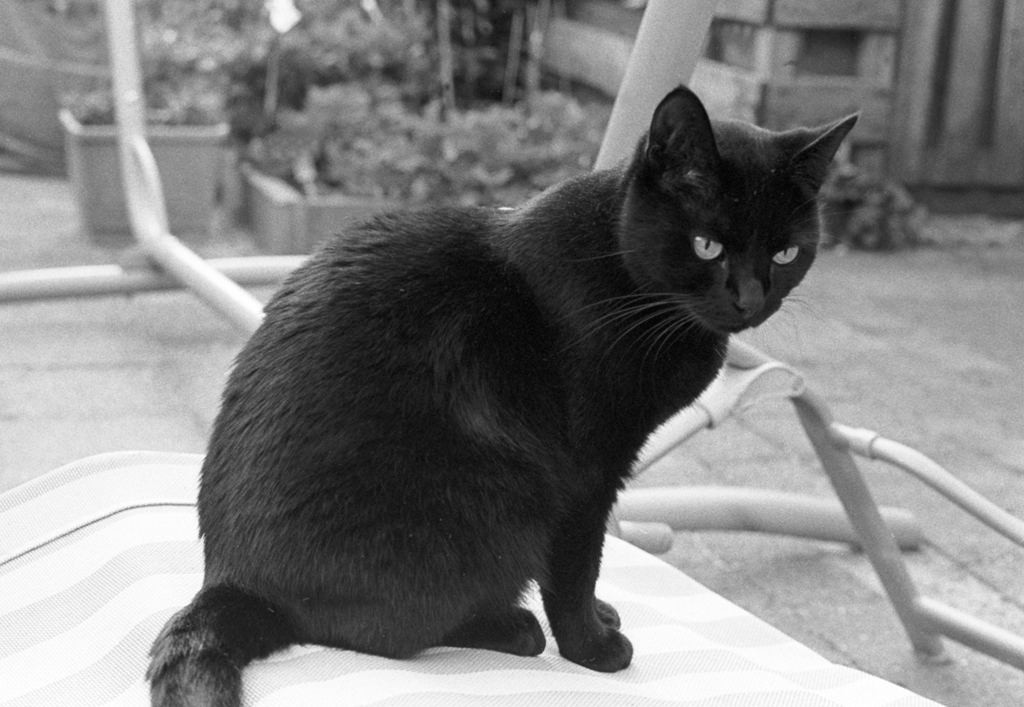
After having filled up the Tri-X which had been lingering in the XD-7, I developed that too – again in Rodinal. The same punchy grain, but a bit coarser, again an excellent tone scale, loads of both shadow detail and highlight detail… resulting in characterful images that please the eye. Except maybe not Noortje’s eye – she doesn’t look as if she approves.
So yes… I’ll definitely be doing more of this.
The Minolta Dynax 9Xi has a Rollei 400 RPX which is now half-full, and the Dynax 7si recently got a Fomapan 400. And I already acquired a second Acros II which will probably go into my X700.
Next stop: revisit an old love: a developer called Kodak XTOL… or rather, a new, reportedly excellent variant sold as ADOX XT-3. In the early 2000’s, I got some excellent results with Acros in XTOL, but XTOL was quite cranky to work with… it was a powder developer that was hard to solve, and its shelf life once dissolved was rather crappy. On top of that, Kodak has discontinued the package to produce 1 litre of stock solution, which makes it unattractive for amateur use.
According to many sources, ADOX XT-3 resolves these issues, while yielding results just as good as XTOL.
In the meantime, I can confirm that the above claim is fully justified.
1 Pingback